Split-Scope DHCP in Server 2008 R2
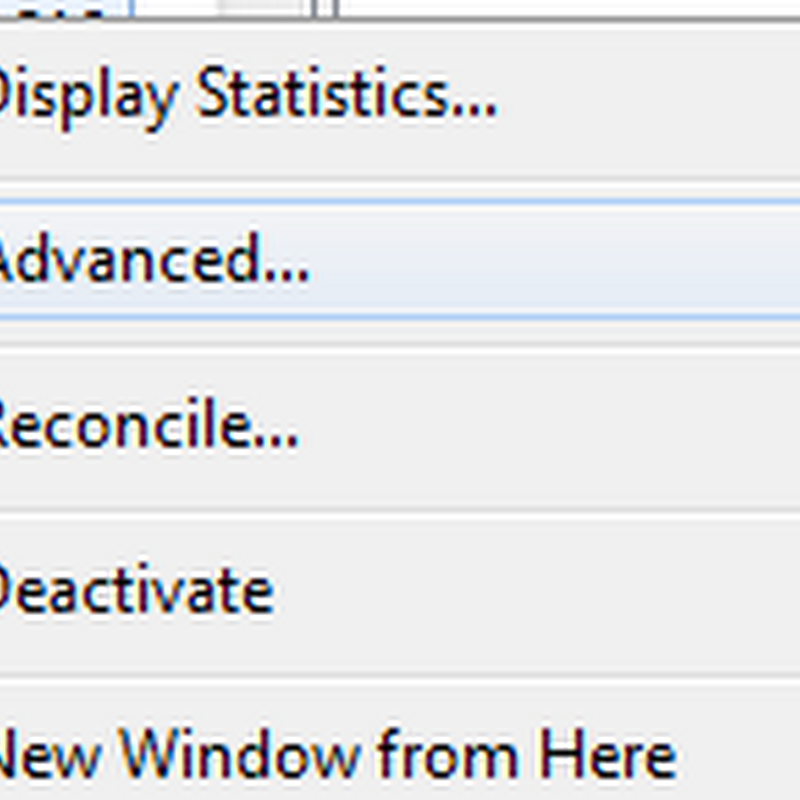
Server 2008 R2 makes this easier by adding a split-scope wizard in the DHCP MMC. First configure a DHCP scope as you normally would with the first and last IP address that you want to be dynamically assigned. Leave out the range of the IP space you intend to use for static assignments as we are only concerned with dynamic assignments. Once the scope has been defined and created it can be split by invoking the split-scope wizard in the advanced sub menu of the scope.

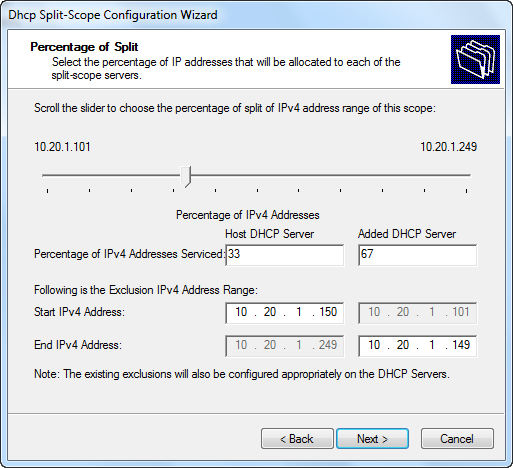
Once you have Selected the authorized server that you would like to add to the scope, the wizard will allow you to define the percentage of the address space that you want to give to the new server. Move the slider left and right to adjust the pool given to the new server you are configuring. If you plan to split the scope across 3 or more servers, do some quick math to determine how many addresses each should serve if you want to split the scope evenly. In the example below I am keeping 33% of the address space on the original server and giving 67% to the new server because I plan to split the scope again. The bottom portion of the window displays the exclusions that will be created on both the original host and new server.
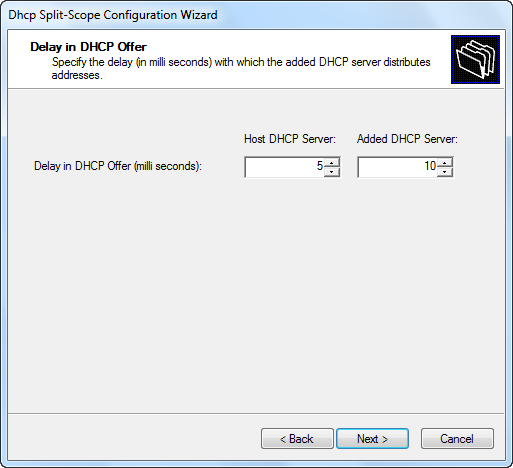
Next you can configure a server offer delay so you can help shape which servers you want to be able to respond in which order. I intend to make my third server primary for this scope so will configure delays for both the host and added DHCP servers.
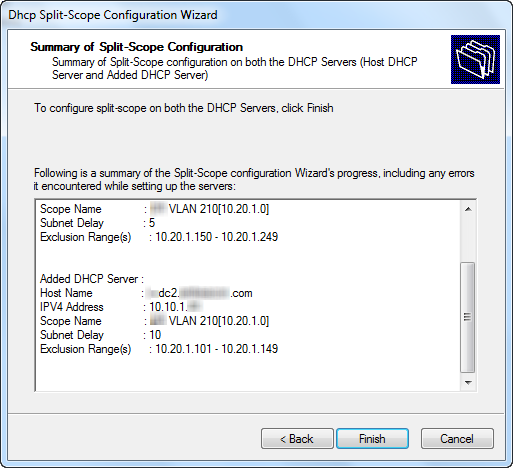
Before executing the split you are presented with a summary screen to ensure that your configuration is correct. Once you execute, the wizard will create an exclusion on the host server as well as create the new scope with exclusion on the added server. A time saver for sure!
The wizard runs through each required step and displays the result of each.
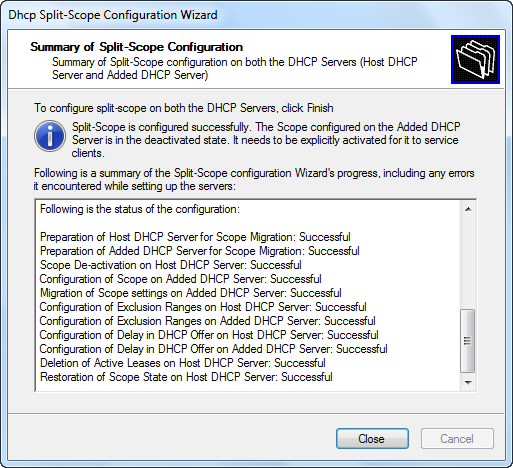
On the newly added server the scope is not automatically activated so if you made a mistake you can easily start over by deleting the new scope on the added server and the exclusion on the host server. Repeat this process on the second server to split the scope again ensuring an even split across all 3 servers. Once your configuration is solid all you need to do is activate the scope on each server you added it to.

Here is how the scope and exclusions look on each server after the split.
Original host:

2nd added server:

3rd added server:

As you can see best practice is automatically applied by defining the entire DHCP range on each server, then limiting the assignable range on each through an exclusion. Future adjustments can be made easily by changing the exclusion.
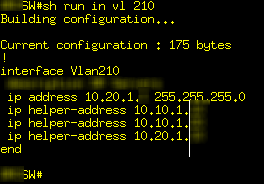
As a final step, make sure you have IP helpers configured in your switch on the proper VLAN interfaces so it knows where to send your client’s DHCPDISCOVER messages.


No comments: